GHOSTVPS / Automation
Set up Mail VPS DNS and test email authentication
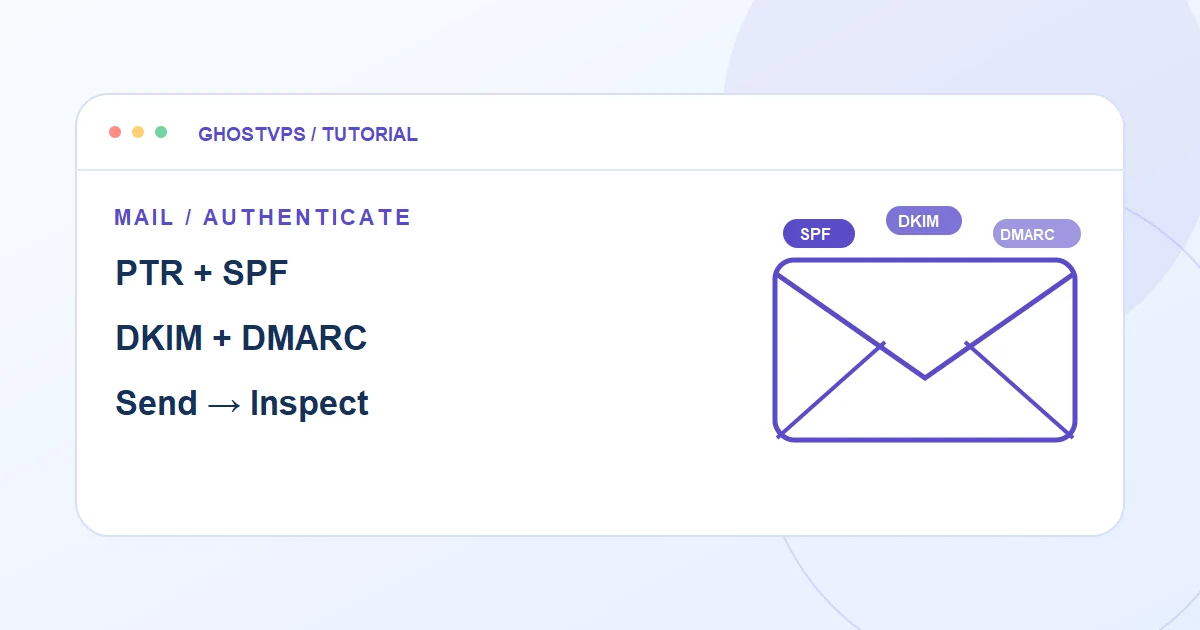
Check PTR, SPF, DKIM and DMARC in a safe order, then test delivery without assuming an open SMTP port guarantees inbox placement.
Updated · GhostVPS
Before you start
A Mail VPS you administer, a domain whose DNS you control and a working mail-server configuration. The exact DKIM selector, sender IP and hostnames come from your own setup. If you use a separate email provider, follow that provider’s records instead of copying another domain’s values.
Identify the actual sending host and IP
Record the public IP used for outbound mail and the hostname your mail server announces. Verify the allowed SMTP ports and sending policy for your specific plan. Port 25 availability alone does not establish deliverability or permission for unsolicited mail.
Set forward DNS and request matching PTR
Create an A or AAAA record for the mail hostname. The sending IP’s PTR should return that hostname, and the hostname should resolve back to the same IP. PTR is normally controlled by the IP owner or infrastructure panel, not by adding a TXT record at your ordinary DNS provider.
Your computer · terminal
nslookup mail.yourdomain.example
nslookup YOUR_SENDING_IPPublish SPF for all authorized senders
Build one SPF TXT record at the sending domain that includes every legitimate sending source. Do not paste a sample IP or overwrite an existing SPF record without merging its authorized senders. Query the published TXT record and check it has the syntax your mail software expects.
Your computer · terminal
nslookup -type=TXT yourdomain.example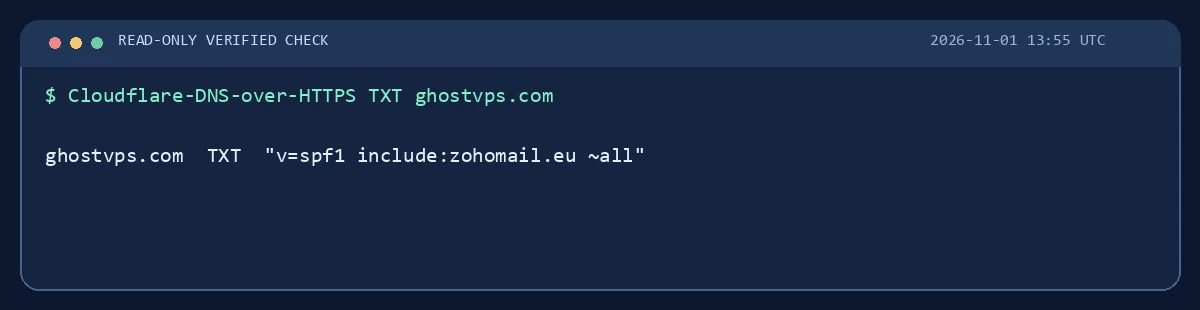
Enable DKIM and start DMARC with reporting
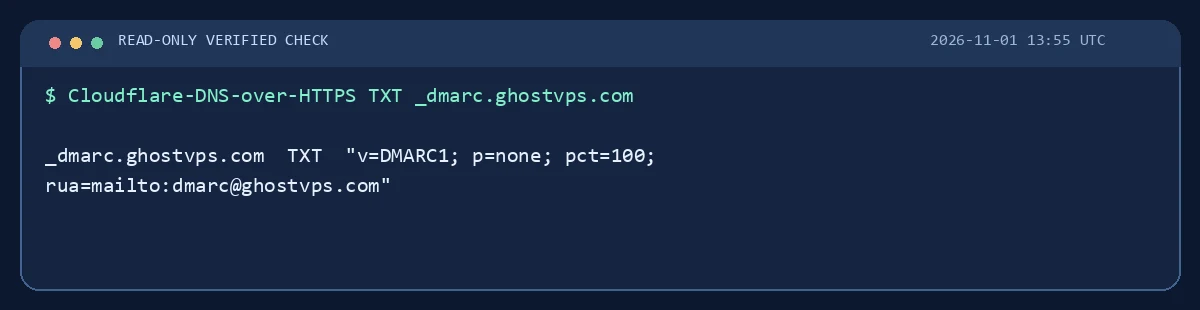
Generate the DKIM signing key in your mail software and publish its exact selector record. Test a signed message before tightening DMARC policy. Start with monitoring and read reports, then move to stricter policy only after all legitimate senders align; do not copy someone else’s DKIM public key.
Your computer · terminal
nslookup -type=TXT selector._domainkey.yourdomain.example
nslookup -type=TXT _dmarc.yourdomain.exampleSend a controlled test and inspect headers
Send to a mailbox you control at a separate provider. Inspect Authentication-Results for SPF, DKIM and DMARC and check whether the message landed in inbox or spam. If authentication passes but delivery is poor, investigate IP reputation, content, volume and recipient feedback. Never promise inbox delivery from DNS records alone.